
The Best Poems for Middle School
I love teaching and finding poems that speak to middle schoolers. Poetry is more than just words. It helps students find themselves and think deeply.… Read More »The Best Poems for Middle School
I love teaching and finding poems that speak to middle schoolers. Poetry is more than just words. It helps students find themselves and think deeply.… Read More »The Best Poems for Middle School
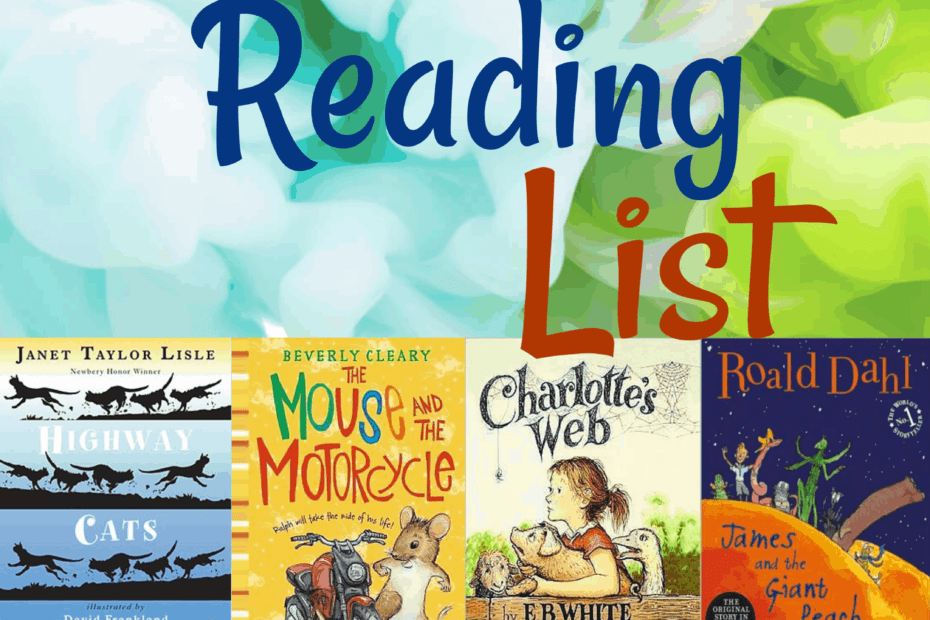
This is an article about the Best Kid-Friendly Books for Fall to encourage kids of all ages to read.
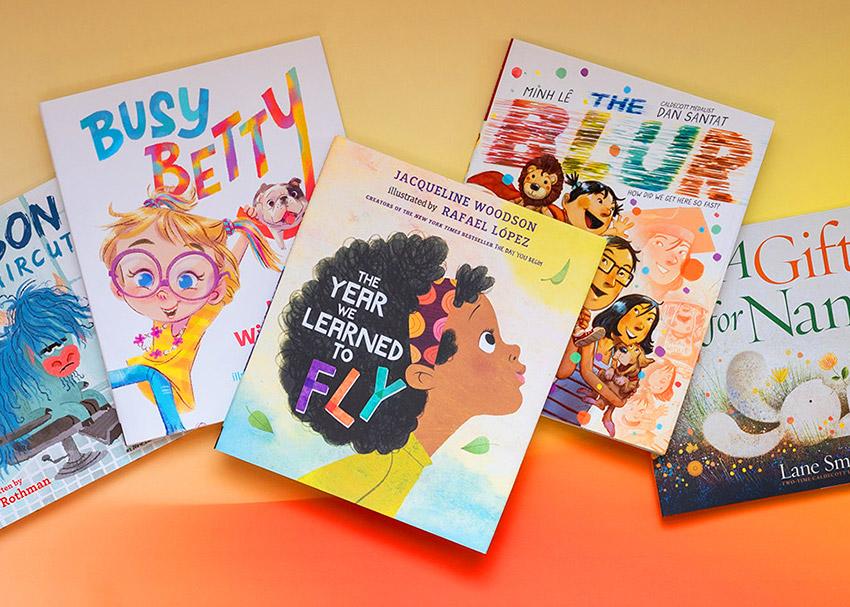
In the realm of literary development, the shift from chapter books to the realm of younger middle grade (ages 8-12 years old) books marks a pivotal juncture for fourth graders. This pivotal transition entails an evolution in their reading preferences, cognitive engagement, and literary exploration. In this article, we have compiled a list of the best books for 4th grade girls updated for 2023-2024 that cater to their evolving interests.
Not all kids are bookworms. But kids won’t deny reading exciting stories full of fun, humor, melodrama, and a happy ending. The fun drawing in the storybooks is only the cherry on the cake. To help you select the classic and right pick, here we are with 14 fantastic fall books for kids they can read or listen to while noticing the seasonal changes.
Looking for a series of books that your young reader can immerse themselves in and develop their reading skills? Then look no further! We have selected the 8 best book series for 2nd grade girls.
We review and reccommend 15 Popular Holiday Books for Children in this article.
Summer vacations are the perfect time to enjoy a good short read, so we present suggested summer reading for 3rd graders in this article.
Using pictures or picture books while teaching elementary students can be an excellent habit for building a long-term understanding among kids rather than just memorizing things. Picture books, interest especially the younger kids, as they find it easier to connect with everything. Here we discuss the must have picture books for Upper Elementary.
It can be hard to build the interest of your fifth grader in reading. At any time of the year, it is challenging for them to spare time reading thick novels, as their patience for reading is challenged by the distractions of fifth grade. For that, we have our list of 10 great short stories for fifth graders
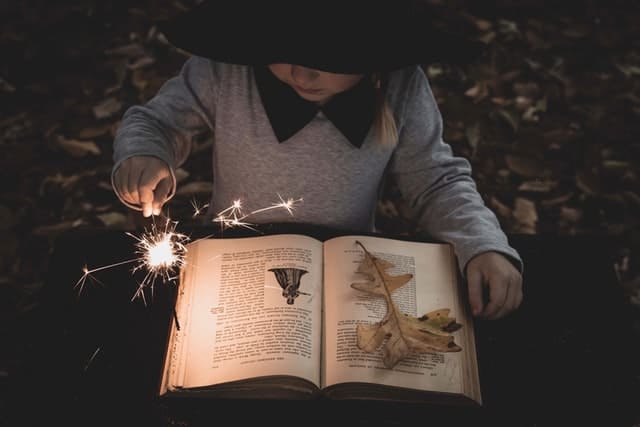
No doubt, Halloween is the best time of year. Kids indulge themselves in collecting candies, trick o’ treating and wearing unique costumes. Here are our picks for the 10 best Halloween Read Alouds for Elementary Students.